Making molds, saving money
One of the things I love about being me is that I have attempted most everything that has caught my interest. That includes making RTV silicone molds. It’s really not the hardest thing, just a few basics to understand and you can make replicas of most objects. So, since I wanted to make some copies of a part I need in bulk I figured I’d take a few pics and throw it up here for those interested.
Lets start with the basics, this isnt inteded to be a step-by-step (I’ll do one if asked) but more of an overview of the general process. Here’s a pic of the basics needed to get started.

We have a paper plate, a wad of modelling clay, a chunk of abs (pvc will work, but I had this handy) plastic pipe, and a part to be copied. Double bonus points if anyone recognizes the part and what it is used for. The paper plate contains the mess, an important piece of the puzzle. lol. Now to start getting the part prepped to make the mold.

Here is the part mounted on a base of modelling clay. After looking at the part geometry I figured this made the most sense for casting the part. The end that is up needs the shape and recess in it, the other end mates up with another half and isn’t critical. The worst part about making molds is learning to view things as ‘negative space’ that needs to be filled. Remember everything you see on that plate will be a hole full of nothing when the mold is made.

So that is why I mount it to the clay with a tapered base that blends out into the end. It makes it easier when casting a new part in the mold. Just trust me, it will likely make sense later in the post. Now to put our outer container in place.

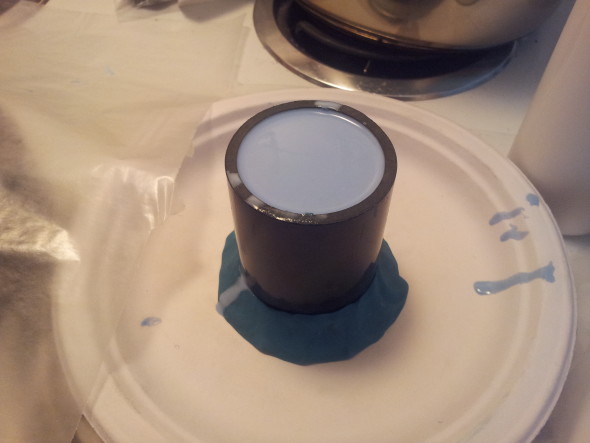
Just eyeball it centered around the part to be molded and press down into the clay. Unfortunately that wont make a good enough seal. The RTV mold material WILL escape from the smallest openings, trust me I’ve made my share of messes. Thats why I know to use a paper plate.

So to try and minimize the leakage I push the extra clay up around the base of the outer wall and hope its good enough. Usually it is, sometimes not. Now that we have the part to be molded in there, outer wall in place, everything looks sealed…
Time to mix and pour the RTV.

Damn. See the drips all over? The blue RTV sneaking out of the base between the clay and the plastic pipe? This stuff is engineered to make a mess… or maybe I am. Better just walk away and not think that one through…..

RTV has set up and its time to pull everything out. The clay ring and pedestal came out pretty easy, but they do if you use the right clay. We can see the part still in the mold waiting to be free so we can pour resin in the cavity. Best get to it.

HAH! Finished the mold and here it sits. The mold is fully cured and ready to use at this point. Next up is to clean up the mess, put the supplies away and start casting parts. The resin I use cures in around 5 minutes, so it doesn’t take much time to crank out bunch of replicas. I’ll have to count the number of molds on the shelf in the office, but I have made well over a hundred now and even the oldest still works as good as new if properly taken care of.